How to fit Venetian Blinds
Venetian blinds are a classic and versatile window treatment option characterized by horizontal slats that can be adjusted to control light and privacy levels.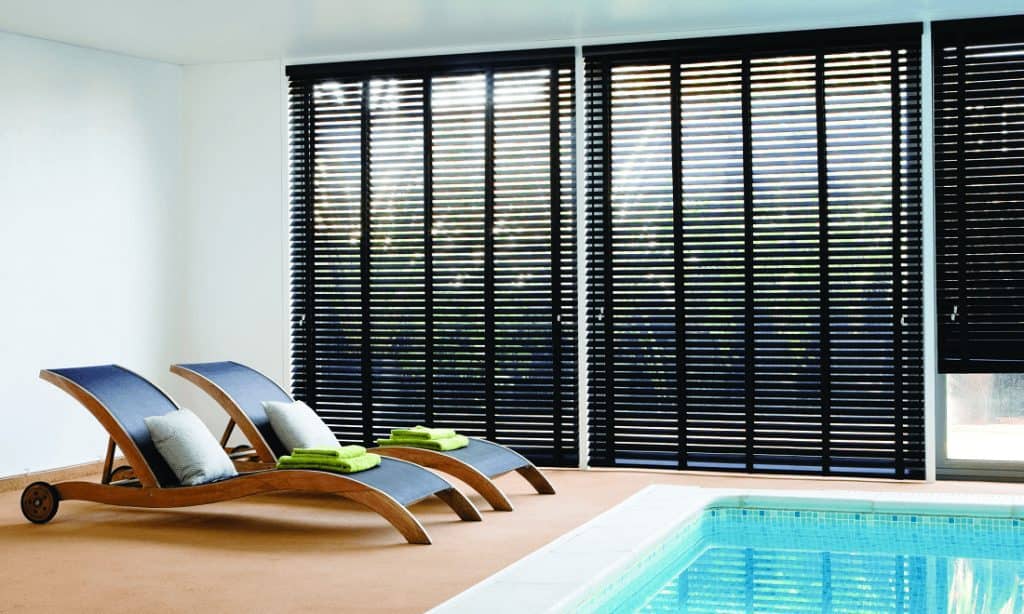
What do I need to fit?
These blinds are typically made from materials such as wood, aluminum, or PVC, offering a range of styles to suit different preferences and decor schemes.
To properly fit your blinds, you will need:
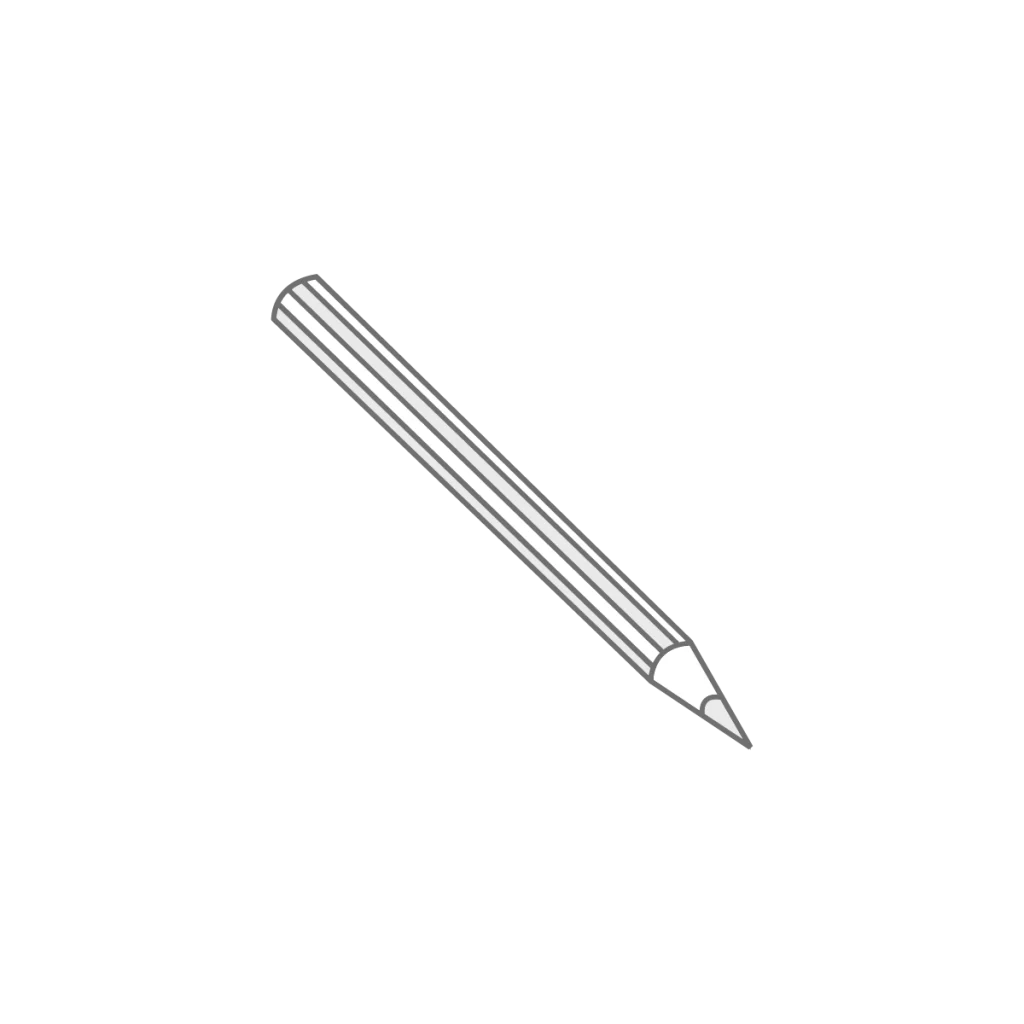
- Pencil: For marking the placements of your brackets on the wall or window frame.
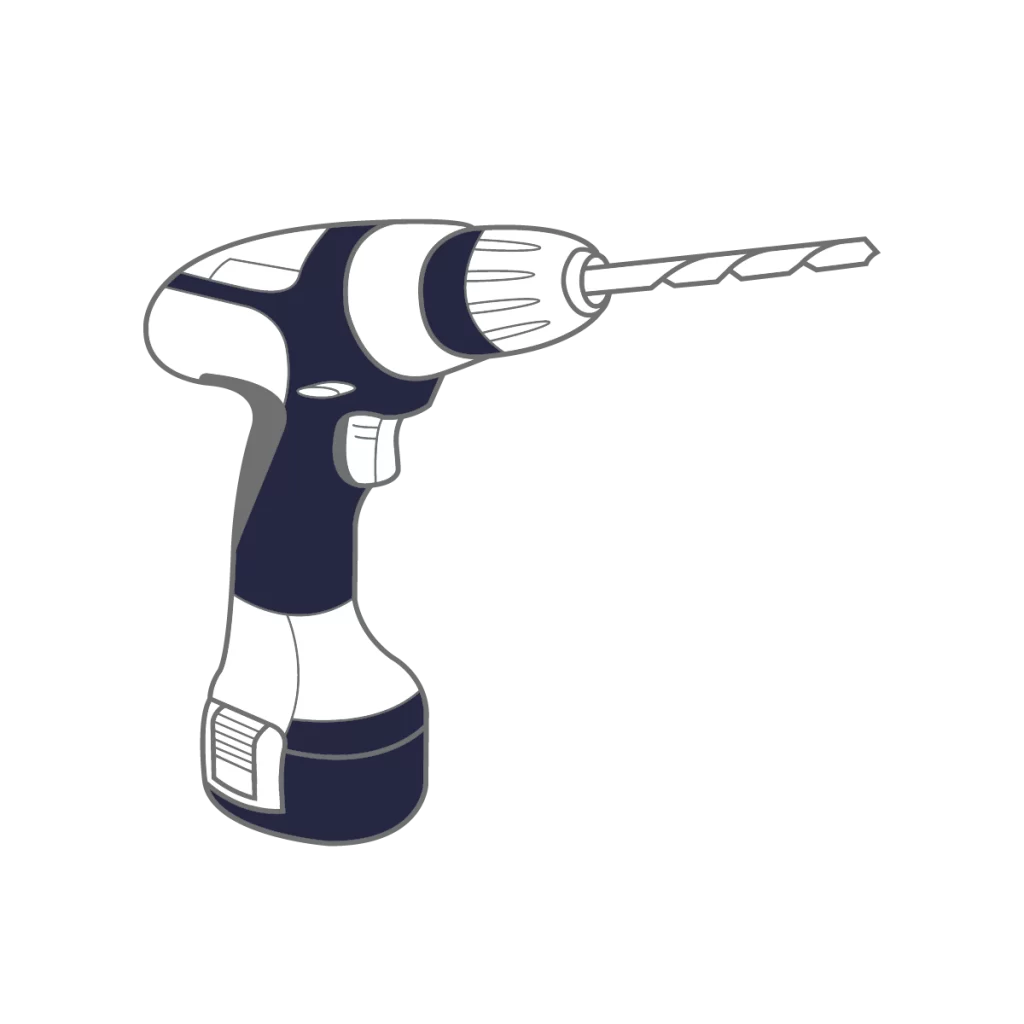
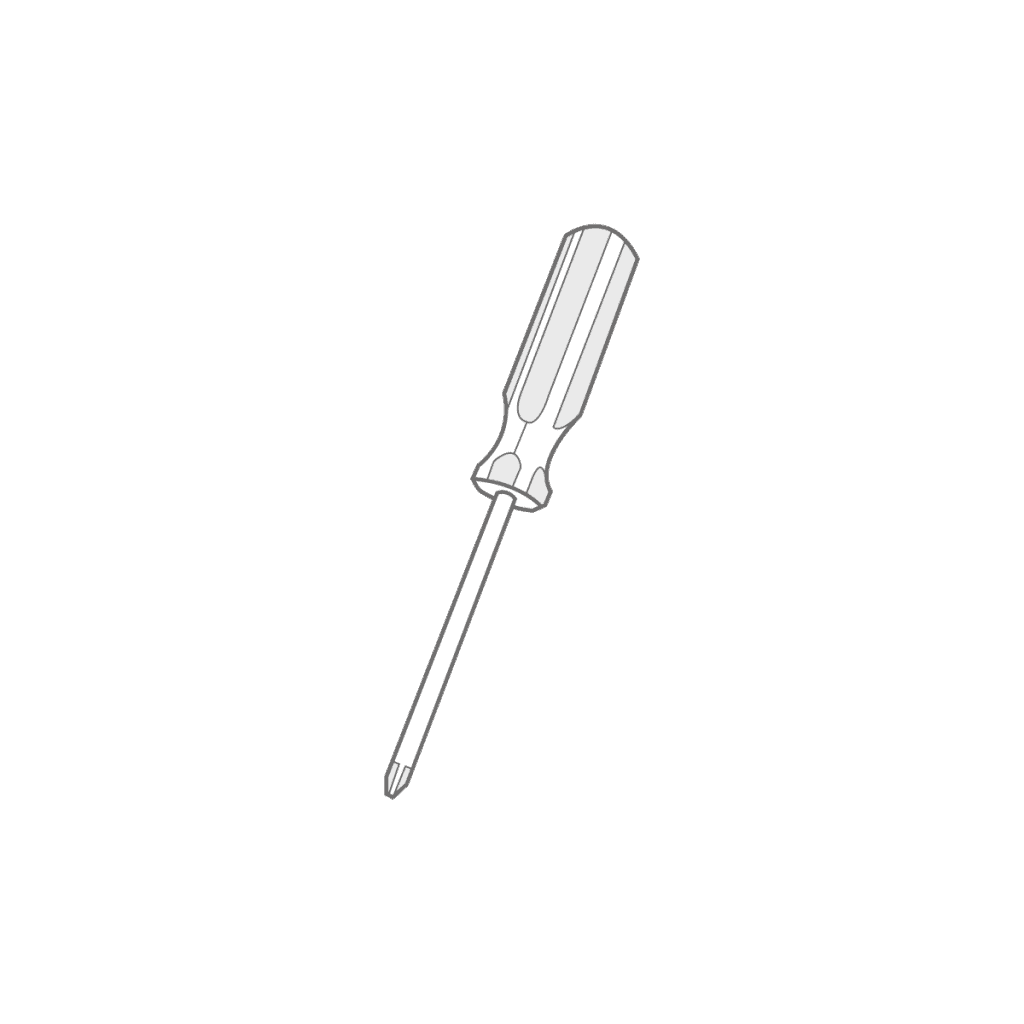
- Screwdriver or power drill: To efficiently install the brackets and screws.
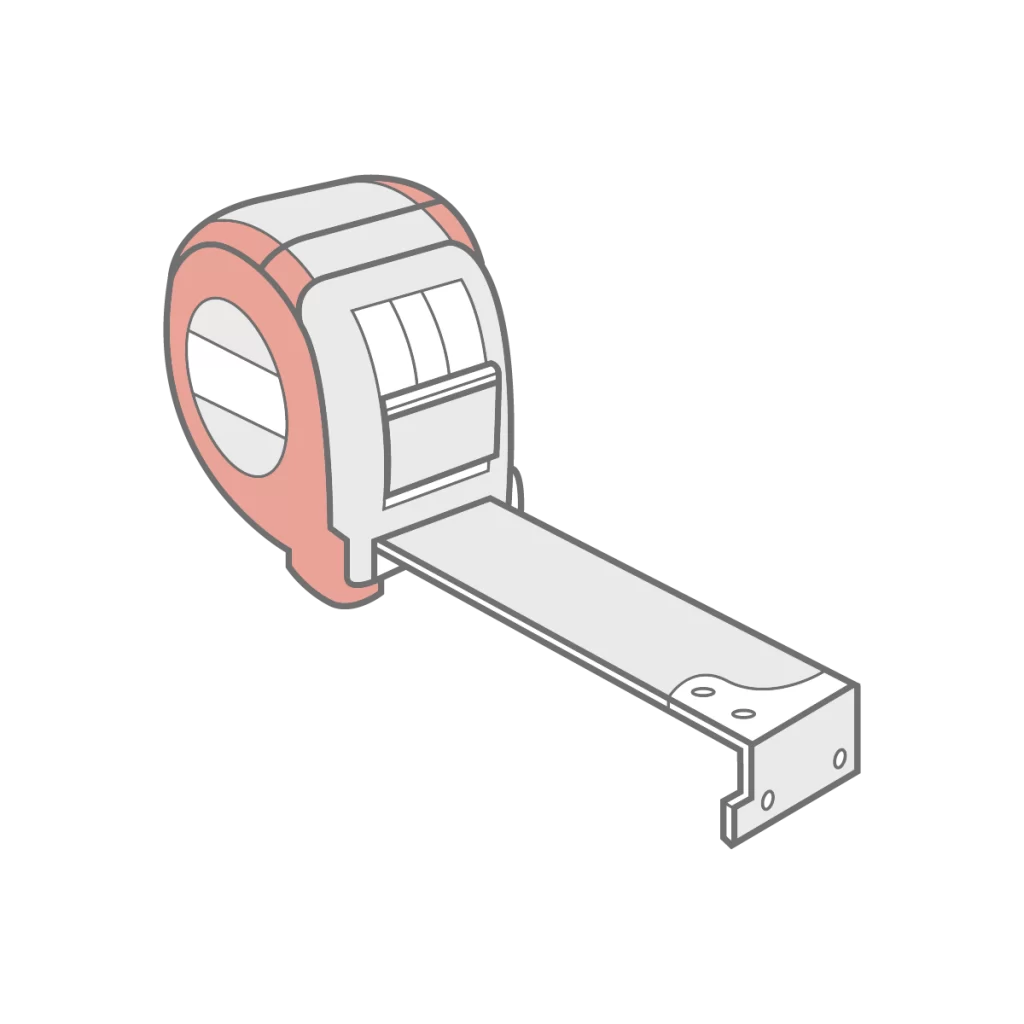
- Measuring tape: To accurately measure the positions for bracket placements.
- Appropriate screws and wall plugs: Ensure you have the correct fittings suitable for the surface you’re mounting the blinds onto. Whether it’s plaster, wood, or steel, it’s advisable to research and select the best fittings for your specific blind installation.
Accessories
Your new blind includes several essential components:
- Blinds
- Brackets
- Screws
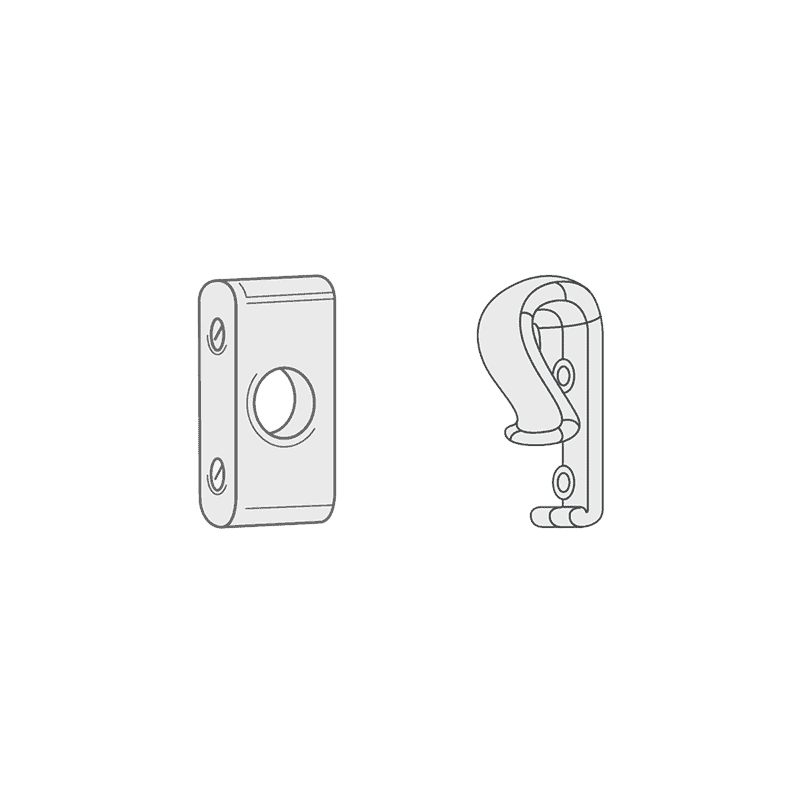
- Child Safety Devices
Installing your venetian blinds
Please keep in mind that when installing Venetian blinds, the brackets should be positioned approximately 110mm from each end of the headrail. You can then adjust the spacing of the brackets across the width of the window as needed.
Step 1:- Fitting the brackets
Our box-end brackets offer several fitting options: top fix, face fix, and side fix. Choose the option that best suits your window or door, always ensuring that the hinged flap faces inward into the room, as demonstrated.
before install your blind you need consider which one perfect for
Your window Top Fix or Face Fix
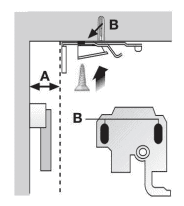
For top fixing, begin by measuring the distance that any handles protrude from the frame, labeled as A. Mark this measurement on the lintel, and use it as a guide to position the back of the bracket. Then, mark the positions of holes labeled as B, and securely attach the bracket to the lintel using the provided screws and rawl plugs.
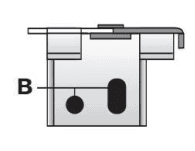
For face fixing, start by positioning the bracket with the swing arm facing towards you. Then, mark the hole positions labeled as B. Proceed to screw the bracket securely in place, ensuring stability. If you’re mounting the bracket to the wall, use rawl plugs for added support.
Step 2:- Fitting the venetian blind
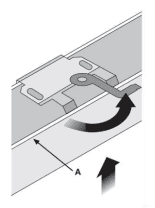
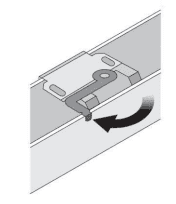
Rotate the swing arm counterclockwise as far as it will go. Then, clip the blind over the bracket by first gently easing the front lip of the headrail (labeled as A) into place.
Rotate the swing arm clockwise until it locks, securely holding the blind in place.Release the blind from the brackets and ensure that everything is functioning smoothly by lifting and extending your new window dressing.
Test the operation of the blind to ensure that it raises and lowers properly and that the slats tilt smoothly for optimal functionality.
Ensure that brackets are positioned a suitable distance away from any window, door handles or any other obstructions to allow the blind to operate smoothly.
Child Safety
To ensure safety, the device must be installed at the maximum distance from the control mechanism to prevent the looped chain from becoming slack. Follow these steps:
- Position the safety device on the wall at the desired location, ensuring it’s far enough from the control mechanism.
- Use a pencil to mark the positioning of the two screw holes on the wall.
- Drill holes into the wall using a suitable drill bit.
- Securely attach the safety device to the wall using screws, aligning it with the marked holes.
- Ensure that the chain is fully taut when placing the device into position to prevent any slack in the looped chain.
By following these steps, you can install the safety device effectively to enhance the safety of your window dressing.
