How to fit Day & Night Blinds
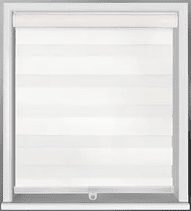
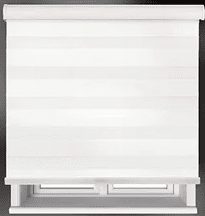
Day-Night blinds, also known as Vision or Zebra blinds, feature alternating sheer and horizontal fabric strips, providing a unique combination of adjustable privacy and light control.
Need to consider when fitting
Before commencing installation, it’s essential to check a few things:
- Dual Functionality: Day-Night blinds feature two layers of fabric that can be adjusted independently. The sheer fabric allows diffused natural light to enter the room while maintaining privacy, while the opaque fabric provides complete privacy and light blockage when needed.
- Light Control: The adjustable fabric strips allow you to control the amount of light entering the room. By aligning the sheer and opaque strips, you can achieve varying levels of light filtration and ambiance throughout the day.
- Privacy: Day-Night blinds offer excellent privacy control. When the opaque strips are aligned, they provide complete privacy by blocking the view from the outside.
To properly fit your blinds, you will need:
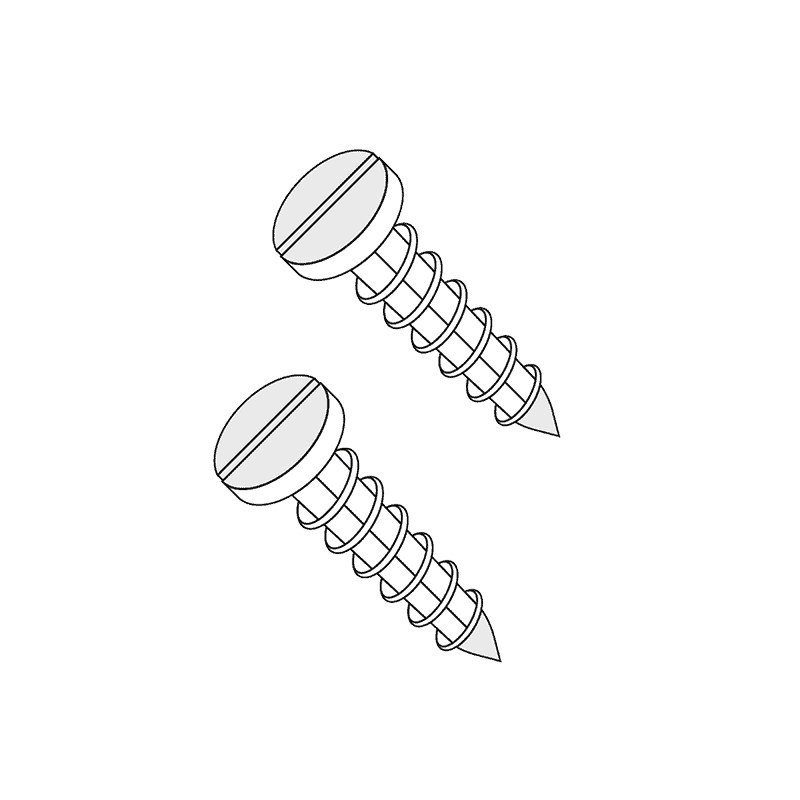
Appropriate screws and wall plugs: Ensure you have the correct fittings suitable for the surface you’re mounting the blinds onto. Whether it’s plaster, wood, or steel, it’s advisable to research and select the best fittings for your specific blind installation.
- Pencil: For marking the placements of your brackets on the wall or window frame.
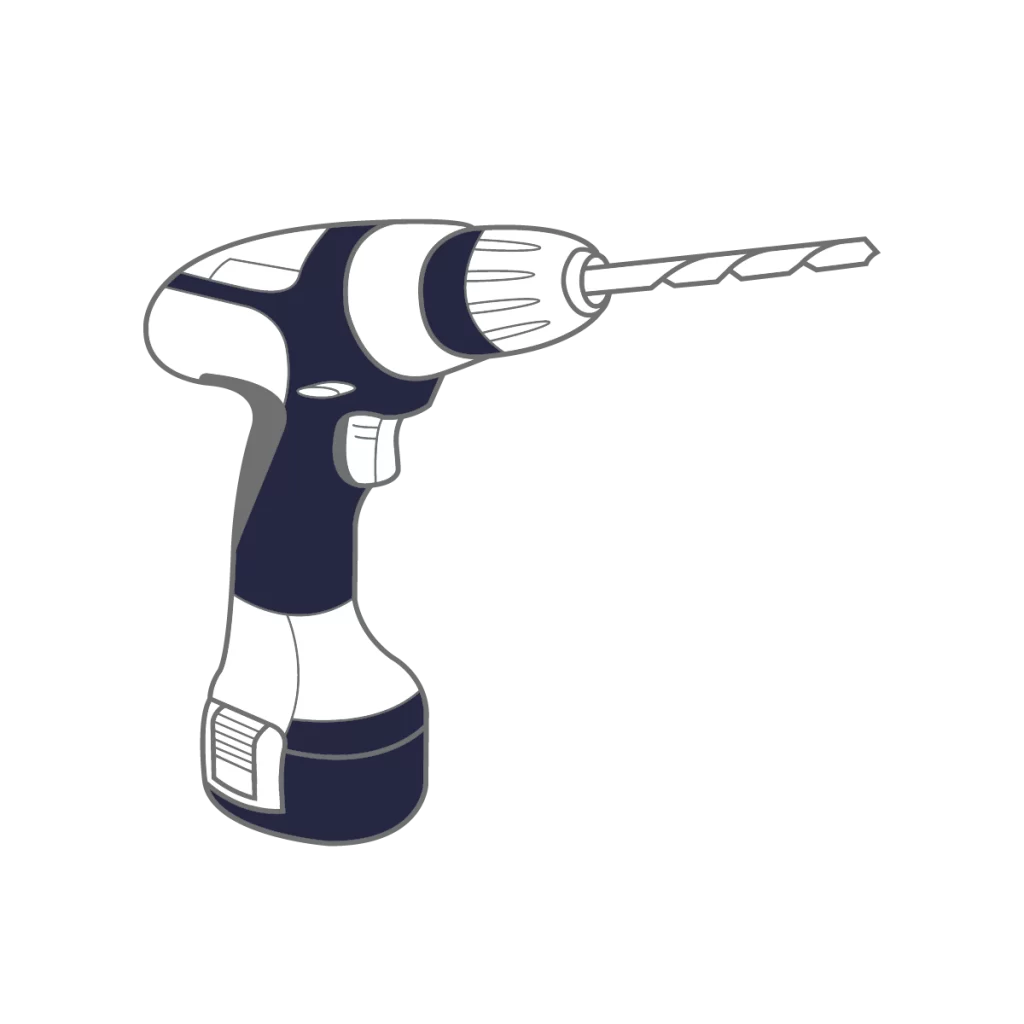
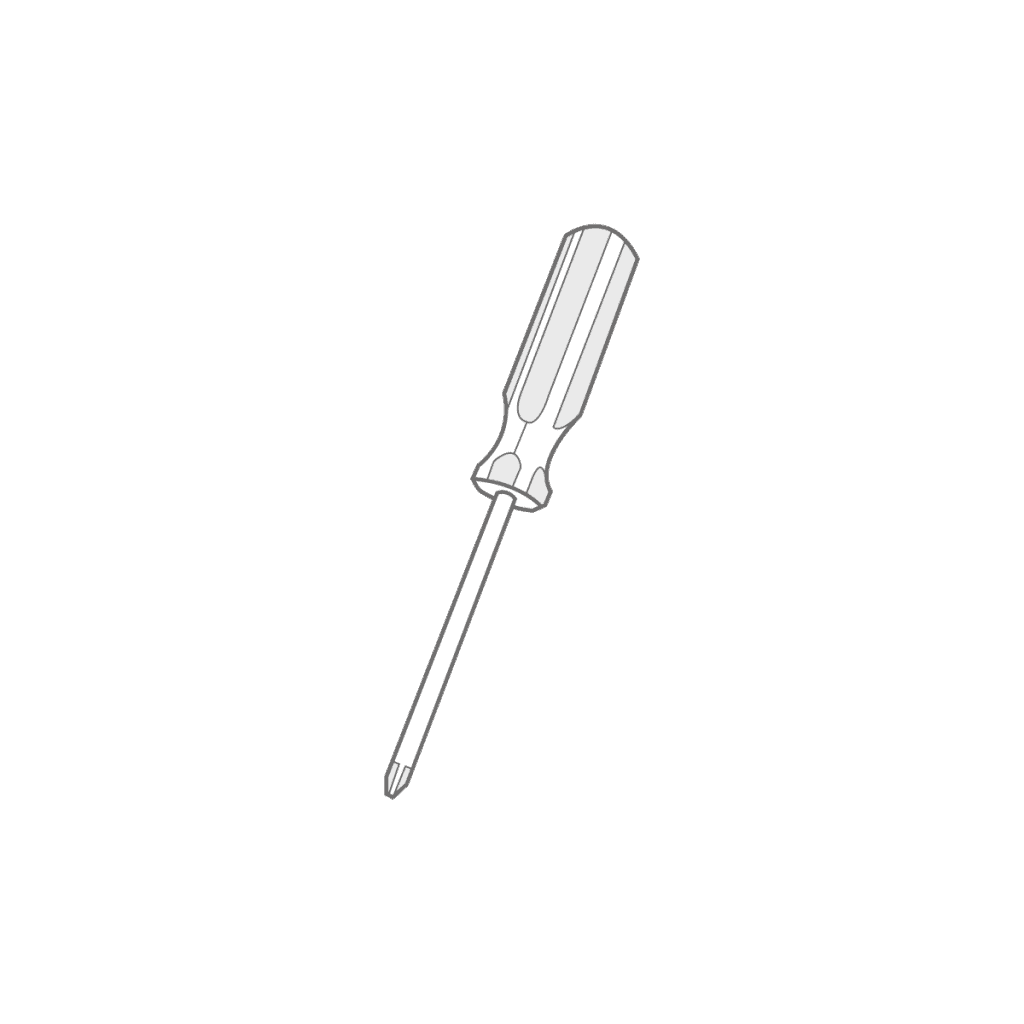
- Screwdriver or power drill: To efficiently install the brackets and screws.
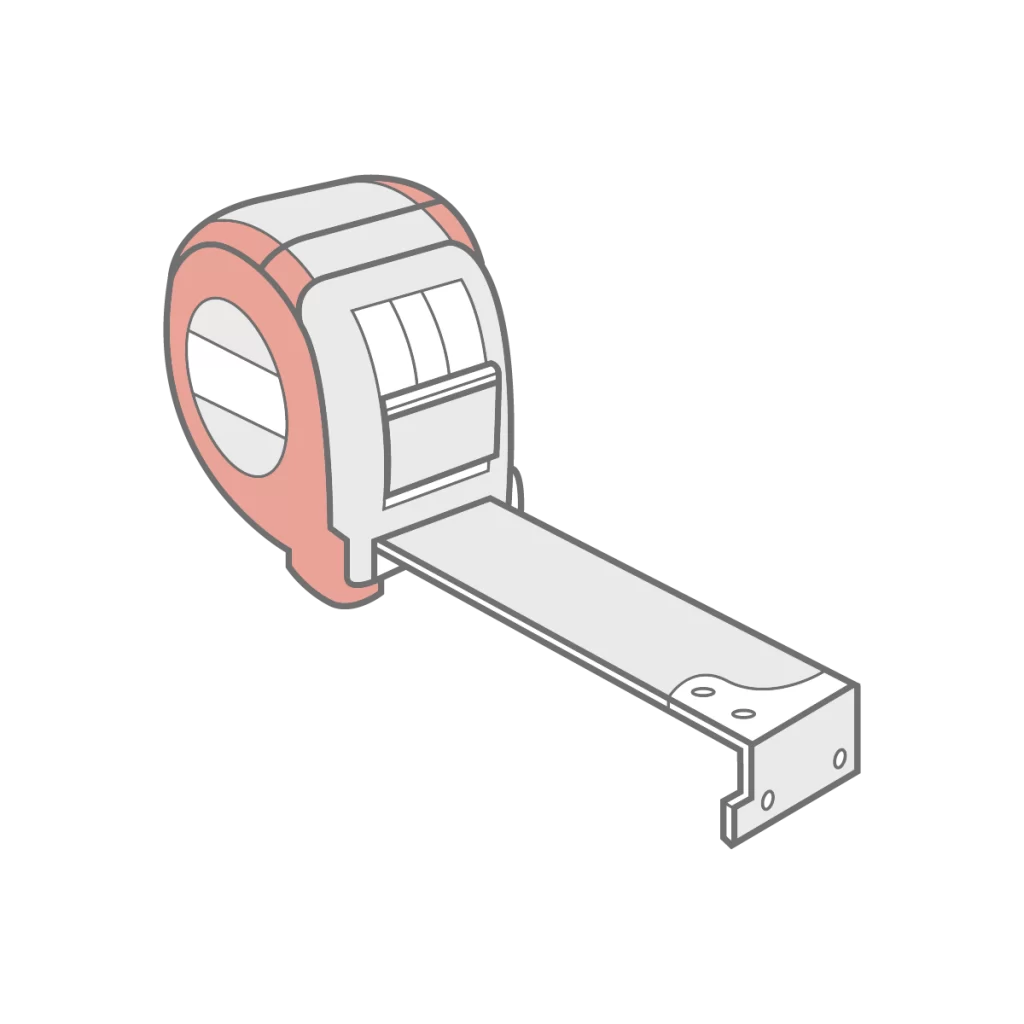
- Measuring tape: To accurately measure the positions for bracket placements.

Installing your day & night blinds
Measurements: Measure the width of your window recess or the area where you plan to install the blinds to ensure you have the correct size.
Mounting Location: Decide whether you want to mount the blinds inside the window recess (inside mount) or outside the window recess (outside mount). Inside mounts provide a sleeker look, while outside mounts can make windows appear larger.
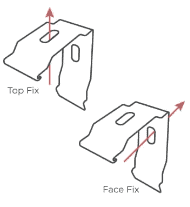
Bracket Installation: Position the brackets according to your chosen mounting location, ensuring they are evenly spaced across the width of the window. Use a pencil to mark the screw hole positions
Drill Holes: If necessary, use a drill to create pilot holes for the screws. Be cautious not to drill too deeply, especially if you’re installing inside the window recess to avoid damaging the window frame.
Attach Brackets: Securely screw the brackets into place using the marked holes. Make sure the brackets are level and firmly attached to the surface.
Install Safety Devices: If your blinds come with safety devices, install them according to the manufacturer’s instructions to keep cords out of reach of children and pets.
Hang the Blinds: Hang the blinds onto the brackets, ensuring they are securely in place. Follow any specific instructions provided by the manufacturer for attaching the blinds to the brackets.
Test Operation: Test the operation of the blinds by raising and lowering them to ensure they move smoothly and stay securely in place.
Adjust and Enjoy: Make any necessary adjustments to the blinds, such as leveling or aligning the slats, and then sit back and enjoy your newly installed Day-Night blinds!
Child Safety
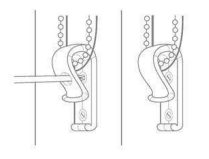
Install the safety device as far away as possible from the control mechanism to prevent any slack in the looped chain.
Follow these steps:
Follow these steps:
- Position the safety device on the wall, marking the placement of the two screw holes.
- Drill the holes using an appropriate drill bit.
- Securely attach the device in place.
- Ensure the chain is fully taut when positioning the device.
