Full Height Shutters provide floor-to-ceiling coverage for maximum privacy, light control, and insulation. With a classic, elegant design, they enhance any space while improving energy efficiency.
Tools you will need:
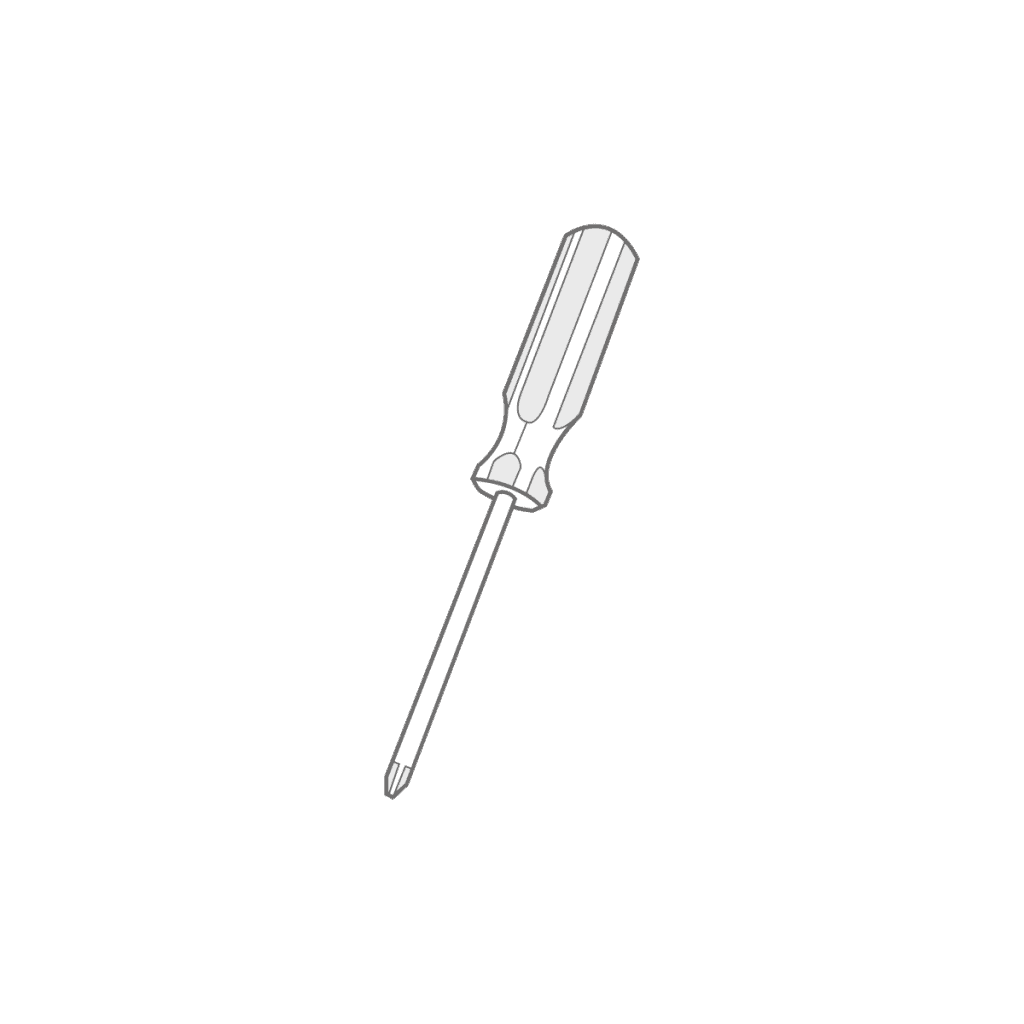
Screwdriver
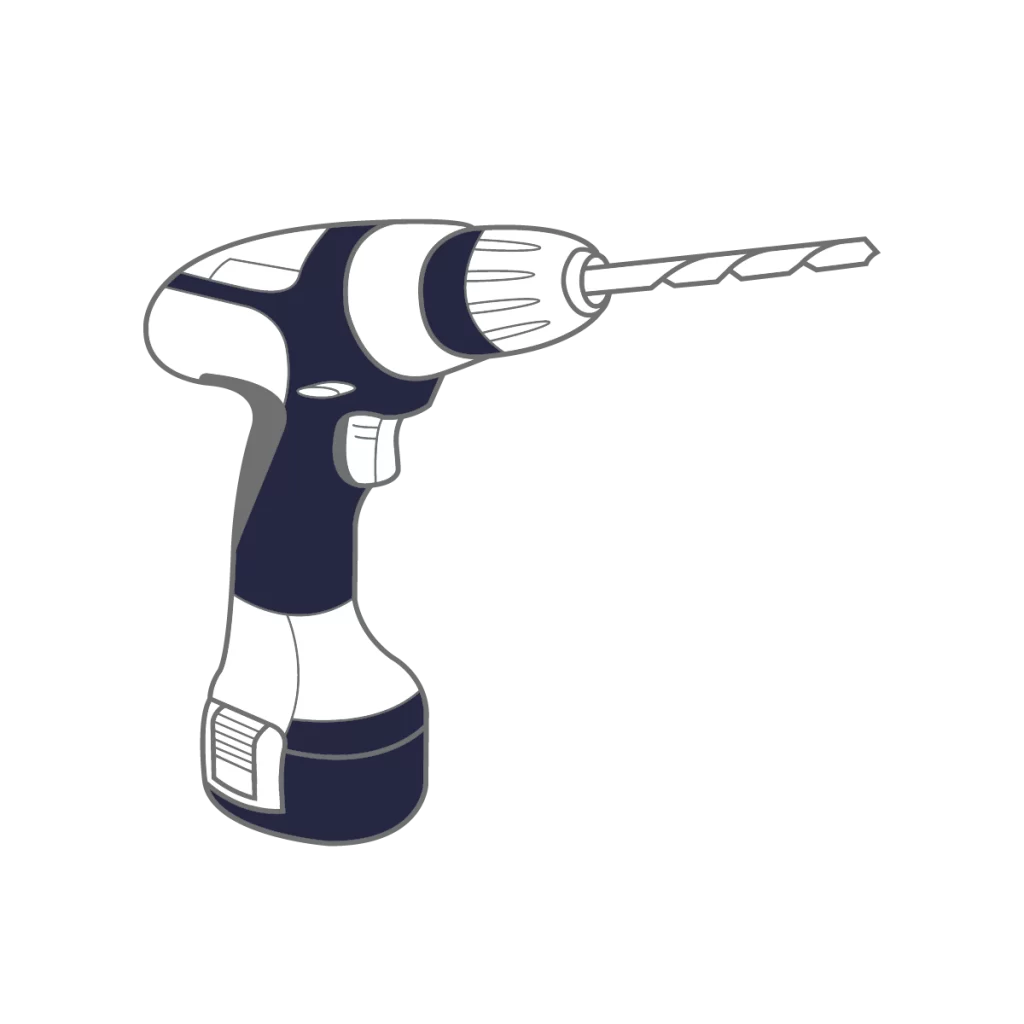
Drill
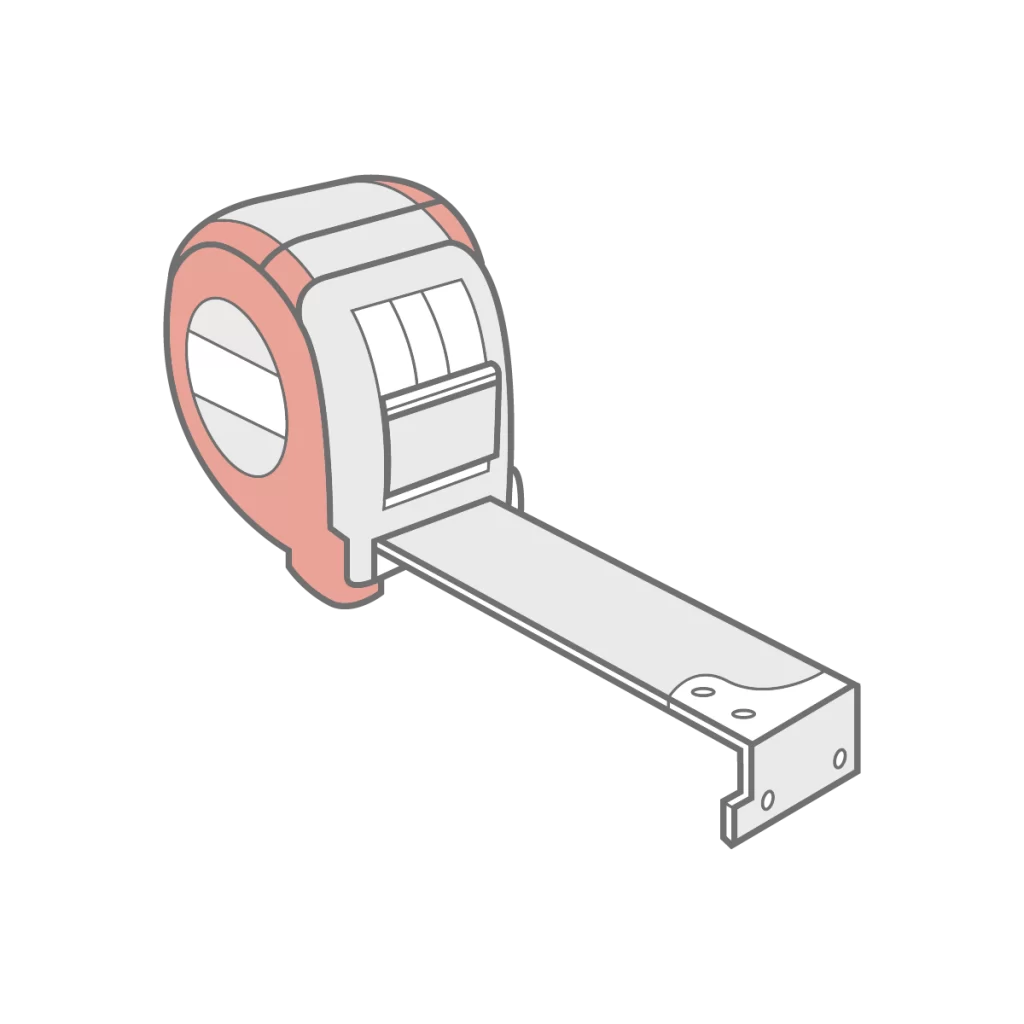
Metal Tape Measure
Pencil
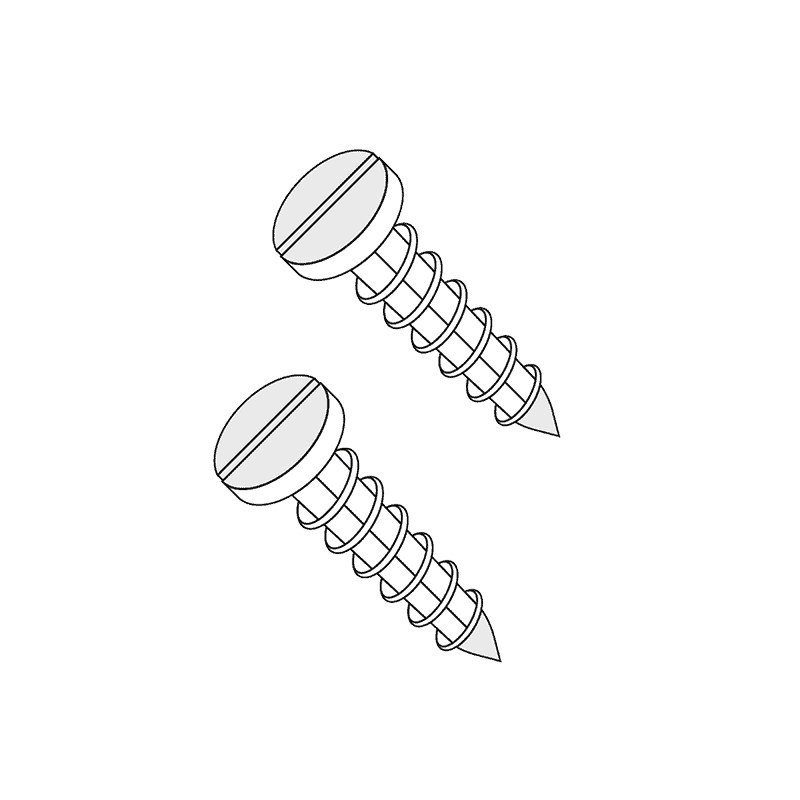
Screws
Fitting Guides
Frames will be labelled Left, Right, Top and Bottom. Lay the content on the floor.
Step1
Connect the frames
L Frames Connect frames using the Hoffmann key provided when on the floor. Slide each corner together.
Z Frames Unlike the L Frames, the bottom of the Z frame is secured with screws with pre drilled holes.
T Post Place the frame on the floor with the panels attached, then use a packer wedge to ensure a uniform gap at the top and bottom between the shutter side and the T-post. Once aligned, secure the T-posts by screwing them into the top and bottom.
Step2
Position the frame within recess
Using a metal tape measure, check that the rubber beading is less than 6mm wide from the frame edge to the glazing edge. If it exceeds 6mm, Perfect Fit blinds won’t be suitable.
Step3
Attach the frame to the recess
Reposition the frame and partially screw in the screws to hold it in place while allowing for adjustments
Step4
Mount the panels
Panels are labeled for easy installation. Mount them from left to right, with A on the far left and B on the right for two-panel shutters. For four-panel shutters, A and B are on the left, while C and D are on the right.
Ensure the panels are positioned correctly with the label on the top edge. Secure each panel by sliding the hinge pin into place, then repeat for panel B.”
Step5
Line up panels
Close the panels and move the frame left to right until the panels line up at the top.
Step6
Re pack the frame and make holes
Once the panels are aligned at the top, follow these steps: A – Repack the frame. B – Open the panels. C – Partially insert the screws to mark the wall, then remove them.”
Step7
Screw the rest of fixing points
Carefully remove the hinge pins and panels, then unscrew the Left Top and Right Top screws before lifting down the frame.
Step8
Tight screws
After drilling all fixing points and inserting wall plugs, reposition the frame in the recess. Ensure proper alignment by packing the frame as before, so the drilled wall holes match the frame holes. Finally, insert all remaining screws into the frame.
Step9
Mount the panels back
Mount the panels back as before securing them with the hinge pins.
Step10
Place screw covers to the screw holes
Once the hinges are adjusted, place the screw covers to the screw holes.
Step11
Seal gaps
For Z Frames, also seal any gaps at the mitred corners and where the frame meets the wall at the back.
Important
T Post?
If your shutters have a T-post, attach it while aligning the four panels. Use packer wedges to maintain even gaps between the panels and the T-post.
Ensure the T-post is straight, as misalignment can cause panels to drop and create uneven gaps. Secure each T-post with at least two screws (top and bottom) to prevent rotation.